Explore Our Course
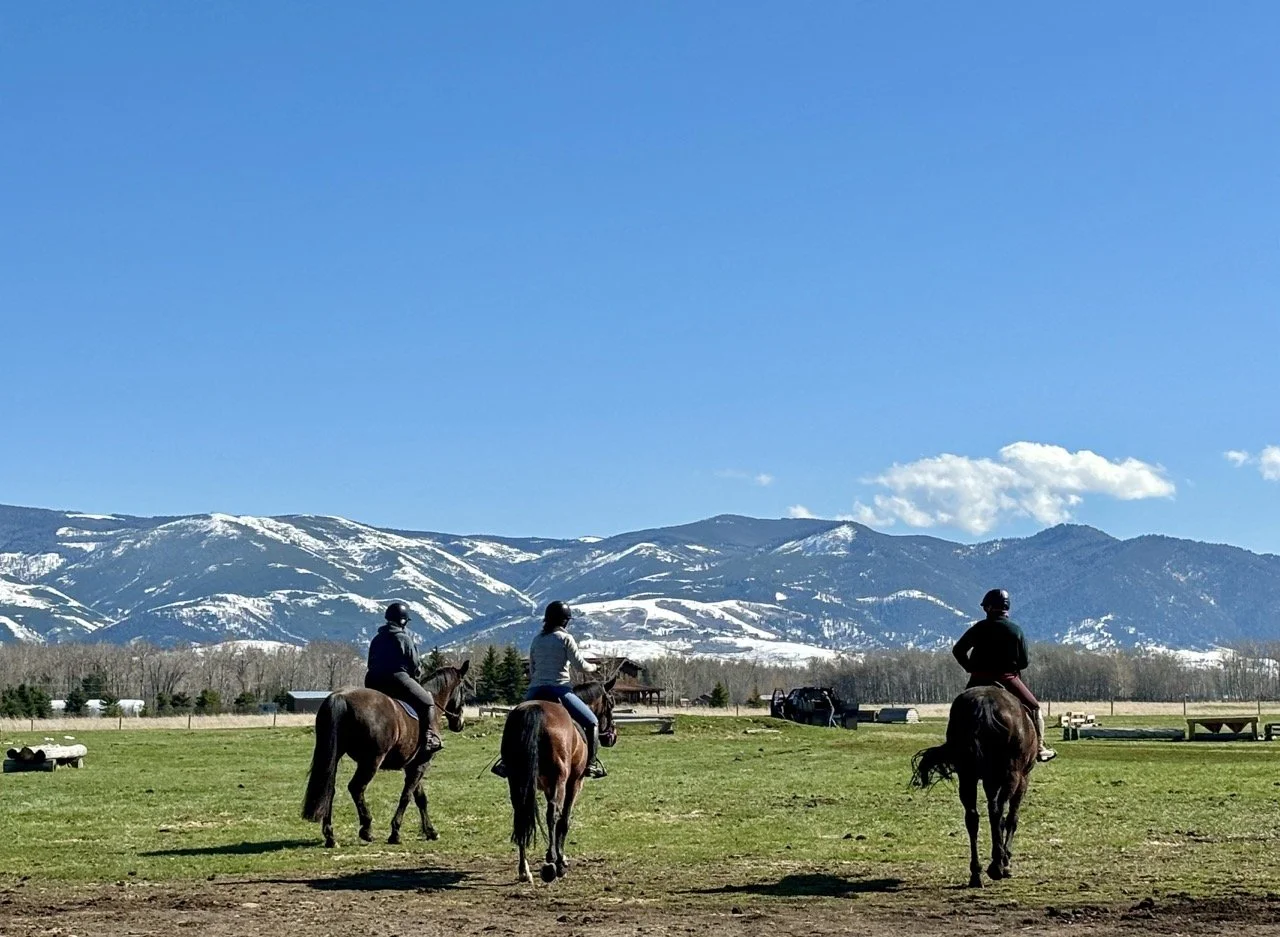
We’re blessed to have a beautiful cross country field right here onsite. Take a peek through the obstacles, heights, and layout! (Note: Heights/widths are approximate. Map updated in August 2024.)
View our course map below (Click to Download & Print PDF), then scroll down to see each fence!

A: Double Log (2’7 H x 3’2 W)
B: Small Hanging Log (2’ H x 3’ W base)
C: Big Hanging Log (2’10 H x 4’ W base)
D: Short Cow Pen Log (2’4 H)
E: Long Cow Pen Log (2’3 H in middle)
F: Small Gate (2’3 H)
G: Medium Gate (2’6 H)
H: Large Gate (2’10 H)
Z: Large Roll Top (3’ H x 3’3 W)
I: Table (2’6 H x 2’6 W)
J: Medium Roll Top (2’6 H x 3’ W)
K: Log Pile (18” H)
L: Single Log (12” H)
M: Small Coop (18” H x 3’ W)
N: Medium Coop (2’ H x 2’3 W)
O: Large Coop (2’6 H x 4’ W)
P: Extra Large Coop (2’11 H x 4’6 W)
Q: Diagonal Log (2’7 H)
R: Single Log (18” H)
S: Foam Log (20” H)
U: Angled Log South (2’3 H)
V: Angled Log North (2’ H)
T: Raised Log (2’3 H)
X: Bank Complex (10”, 18”, 2’9 H)
W: Angled Log by Water (2’ H)
Water Complex (includes banks from 9”-16” H)
Y: Corner Complex (2’5 H x 2’3 W at middle & 2’9 H x 3’ at middle)
1: Extra Large Culvert (3’ H)
2: Large Culvert (2’6 H)
3: Medium Culvert (2’ H)
4: Small Culvert (18” H)
5: Single Log by Ditch (2’ H x 2’6 W)
6A: In-Ground Ditch (2’9 - 3’6 W range)

6B. Framed Ditch (3’ W)